
Campusing, Part I: For Power - Big Rungs, Big Moves
I've been meaning to write this post for quite some time, so to those of you whom I've told "Coming Soon," I now say "Finally!" I've recently been designing training protocols for our mobile app and while building campus plans for several types of climbers, it reoccurred to me how misunderstood campusing is. In this post, I'm simply going to go over the basics, and then I'll get into more detail soon. Promise.
First, let me say this. Campusing is misunderstood. Is it dangerous? Sure. So is climbing. The campus board's bad reputation arises from misuse. Whether doing circus tricks or some sadistic form of "endurance campusing," gym rats long ago began destroying themselves on a tool that, when used correctly, is potentially safer than plain old bouldering.
There are two essential reasons to use the campus board:
Contact Strength: In my opinion, this is the lesser of the two reasons (for the majority of climbers), so we'll get into this a little more later. Those small rungs on the campus board? This is where they come in, unless you are ridiculously strong.
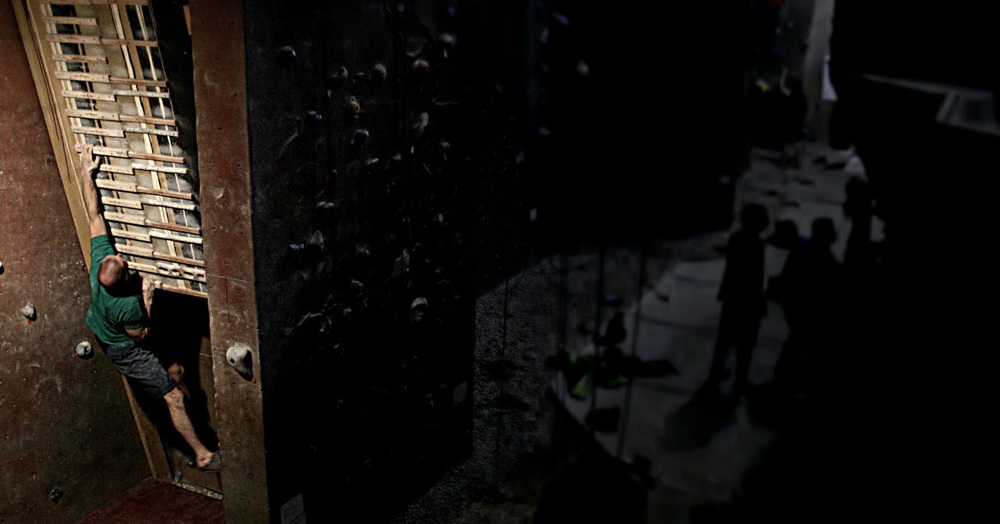
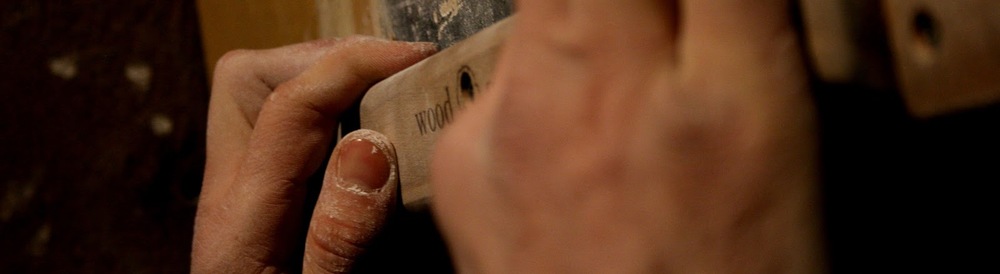
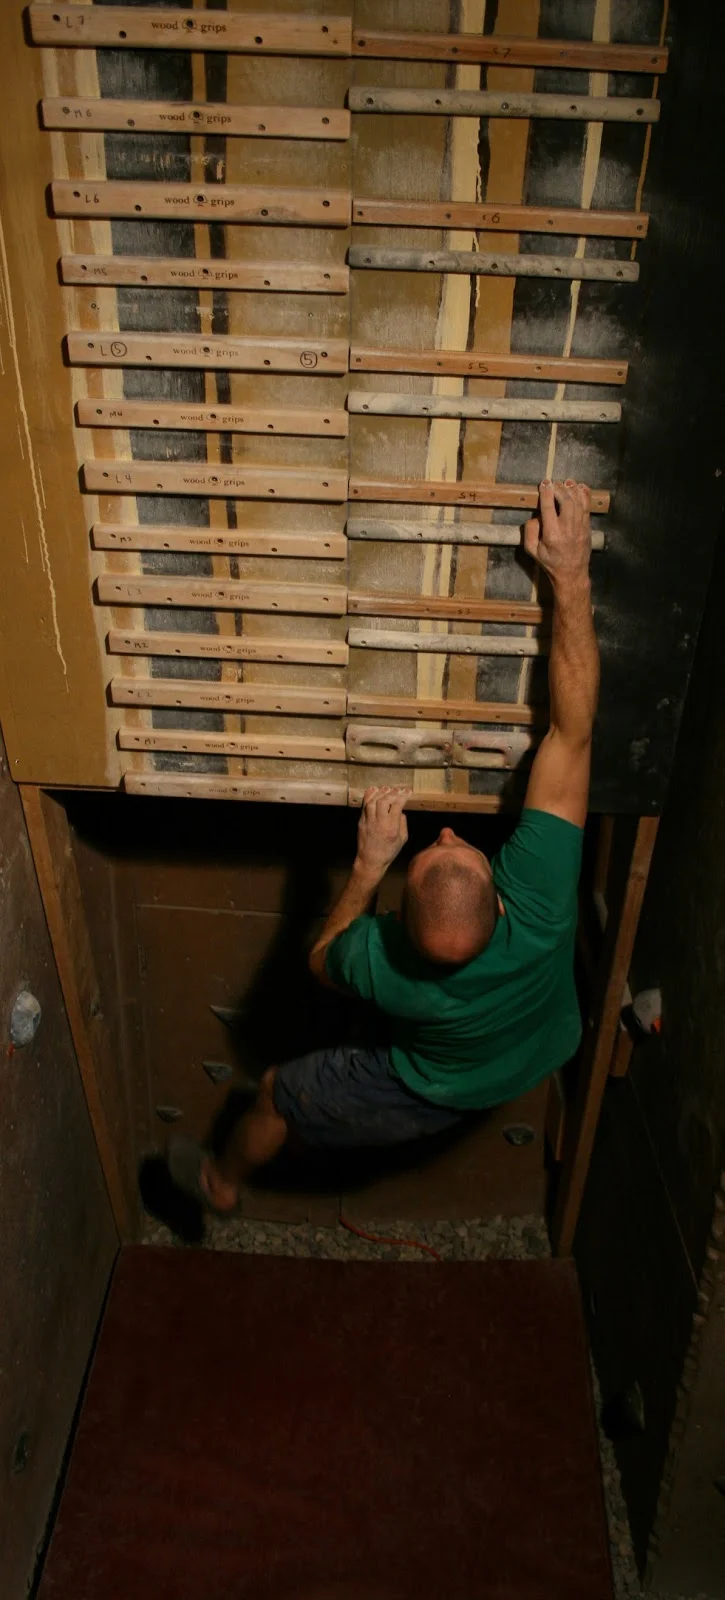
Explosive Power: This is the main reason for which I prescribe campusing, and will be the focus of the workouts I describe. Nearly everyone I direct to the campus board, for the large majority of their workout, stays on the biggest rungs (we use the Metolius Large Wooden Rungs, which are 1 1/4" deep, incut side up), myself included. I've only recently moved onto the smaller rungs, because I've maxed out a few exercises on the larger ones.
I'll just go ahead and say this now: if you aren't regularly climbing mid to hard 5.12 or V6-7, then it's very likely that you can stay away from the small rungs altogether. I know, you feel cooler when you get to use the little ones, even though you get nowhere. In fact, if you aren't climbing in the 5.12 / V4-5 range, then you should probably just stay away from the campus board altogether for now. However, if you're doing this to feel cool, then by all means, continue with the delusion. If you want to get the most out of a campus workout, keep reading.
The Rules
The way I see it, there are some very basic rules to follow during every campus board workout:
Less time on the board. There is no reason to go up, down, up, down, up. If it's endurance you're looking for, then you're in the wrong place. These are power exercises you're doing, and as such, you should be at or very near 100% for EVERY attempt. This means that if you're tired, you're already done.
More time on the floor. After the first rule, this should be obvious. You'd think, anyway. Get MORE rest between attempts. Timing your rests is a good idea for several reasons: First, you'll never be resting as long as you think. Second, if your rest times aren't the same from workout to workout, you'll never know if you're really making progress or if you were just more or less rested than the previous session.
Skip the lockoffs. Don't get me wrong, there is a time and place to train lockoffs, even on the campus board. During a power phase is not that time. Dynamic movement is what you want here, and lockoffs are the opposite of that. So those big 1-5-8 moves you see where the climber mantles up, locks off, and reaches? Skip those. I'm not saying you shouldn't do that specific move - just that it should be dynamic in nature.
Never crimp. Full-on crimping on the campus board is a good way to invite injury. If you aren't capable of holding the rungs with an open hand or half-crimp grip, then you aren't yet ready to do the moves. It's that simple.
"Engage" the scapula. This is a little nebulous. The term "pack the shoulders" is popular, but erroneous, I believe. (The term "pack" leaves little room for movement, when the joint must go through motion, but that's a conversation for another post. Semantics.) To be on the safe side, think of it this way: when doing campus movements, be sure to ALWAYS have the muscles surrounding the scapula (your shoulder blade) "engaged" the ENTIRE time. Don't let the muscles go loose at the top of the reach when you contact a hold.
I could go into much more detail about every one of these rules, but I won't. They're rules - just follow them. Instead, I'll go into more detail about the specific exercises you should be doing if you want to squeeze the most power possible out of your campus workouts. I'll put them in the order that I most often prescribe them, but I almost NEVER ask a climber to do all of these exercises in a single session. The way I program them will come later.
Ladders (no matching)
The most basic of exercises, ladders are simply going from rung to rung, without skipping any rungs, and without matching on any rungs. Ladders are, for the most part, for warming up and readying yourself for the campus workout. If you cannot do 1-2-3-4-5 without matching hands on any of the rungs, then I personally wouldn't advise campusing. If you believe yourself to be the rare case who climbs 13a but still can't do it, then start with matching. If you don't progress quickly to being able to ladder without matching, then go work on dynamic bouldering and forget about the campus board for a while.
Skip 1 Ladders (no matching)
The next step up in campusing, Skip 1 Ladders (no matching) is considerably more difficult than simple laddering. You start matched on rung 1, reach to rung 3, and without matching, reach all the way through to rung 5, and then to 7, and so on. One of the girls I'm working with has climbed 5.14, but initially couldn't do 1-3-5 without matching, so obviously, 1-3-5-7-9 was out of the question. In this case, it should be done matching, as it is still essentially a warm up exercise to ready you for bigger reaches.
Max Move (matching)
A great way to learn to initiate explosive movement, or for stronger climbers to ready themselves for the next exercise, is the Max Move. You simply start matched on rung 1, explode with 1 hand to the highest rung you can reach, and match.
2 Move Max Ladders (no matching)
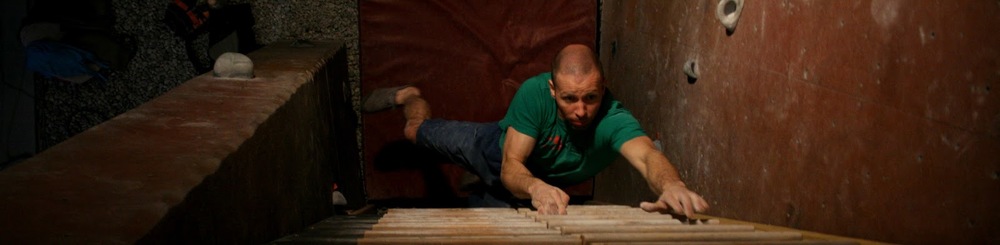
This is where the actual workout begins. There are several important variations of this skill, and it is nearly infinite in it's possibilities. Essentially, it looks like this: You start matched on rung 1, reach to a higher rung with 1 hand, and then with the other, without matching, explode to the furthest rung you can reach. Many people tend to do the biggest first move possible, but there are many other variations. Experiment with 1-2-Max, and 1-3-Max, as well as doing the more typical 1-4-Max and 1-5-Max. Whatever you struggle with the most, focus on that.
This is the movement where you see everyone mantle up, lock off, and reach. That's not what I want to see. I'd rather the motion be continuous and fluid, and more about making a big pull rather than a static lock and reach.
We often don't match at the end of the movement here, unless that pull seems to be something that the climber struggles with. Reason is, I'd rather see that energy put toward the next attempt. It's your choice if you match to finish it off or not. Either way, just be sure to stay consistent for accurate measurement of progress!
Touches
Begin matched on rung 1, and with one hand, explode to the highest rung you can comfortably reach. Make contact, but do not latch the rung. Instead, drop back to starting rung, and repeat with the opposite hand. At the bottom, the "catch and decelerate" phase of the movement, you should decelerate slowly, never get to quite straight arms, and immediately explode back up.
In my opinion, one should master this exercise before moving on to any sort of double-handed campusing, particularly plyometrics. The "catch and decelerate" portion of this exercise is great for readying the body for the forces that will be put on it in the down portion of plyometrics.
Doubles (Up Only)
This is the first step to using the campus board for its real brilliance: plyometrics. To really get the benefits of being an advanced campuser, you have to dial in this exercise as well as the next couple. For this exercise, you start matched on rung 1, then explode upward to rung 2 or rung 3, or to the highest rung you can latch, with both hands simultaneously. It's very important that you master Doubles (Up Only) before moving on to doing Doubles (Down Only).
Doubles (Down Only)
This is the second step toward plyometrics on the campus board. For this exercise, begin on a higher rung (3 or 4), and again with both hands simultaneously, drop to a lower rung. You should decelerate slowly rather than dropping to a straight arm. Your arms and shoulders should be engaged through 100% of the movment. Learn to drop one rung lower first, then two rungs lower. Once you've dialed in dropping to a lower rung, you're ready for the true genius of the campus board.
Plyo Doubles
This is where the campus board shines, but also where it's least understood. To do this exercise correctly, you'll start on a higher rung (3 or 4), drop to a lower rung (advanced climbers should drop 2 rungs if they have that movment dialed), and immediately explode upward. The less time that you are in contact with the lower rung, the better. It isn't pertinent that you latch a rung on the upward explosion, but again, if you want to finish it that way, no harm is done.
I often see this exercise displayed as 1-3-2-4-3-5-4-6-and so on. It's too much. Do a few of these single Plyo Doubles per session, while doing a couple of sessions a week during a four week phase, and you'll have done plenty.
Big Rungs + Big Moves = More Power. Those are just the facts.
Next post we'll talk a little more about why and how to incorporate contact strength into the mix (i.e. when and why to use the small rungs), and the exercises that you should be doing, and then we'll look at a couple of sample campus plans.


Kris and Nate discuss their favorite protocols, both that they use themselves and in programming for their clients.